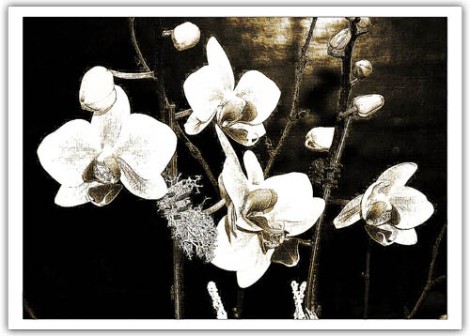
Kind of cool, isn’t it? Would you like to do this too? Here’s how:
1. Add a photo to a slide.
2. Duplicate the photo twice so there’s a total of 3 layers.
3. Set all 3 layers to Fit to Safe Zone.
4. Rename layer 1 to “Adjustment,” layer 2 to “Photo,” and layer 3 to “Frame.”
5. In Layer Settings, put a checkmark in Adjustment and choose Transparency Inverted
6. Go to the Adjustments tab and make these changes:
Adjustment layer:
Sharpen 100%
Opacity 0%
Contrast 100%
Photo layer:
Sharpen 100%
White Point 37%
Contrast 34%
Colorize 140, 125, 96
Outline turned on – black
Frame layer:
Black Point 100%
- If the image is too “crunchy,” you can reduce this by moving the Photo layer’s Sharpen slider toward the left until the image smoothes out just a bit.
- If the image is too dark, move the Photo layer’s White Point slider toward the right until you like what you see.
- You can change the color of the sketch by choosing a different hue in Colorize.
- The Outline color doesn’t have to be black. Choose another color, making sure it’s dark enough to show up.
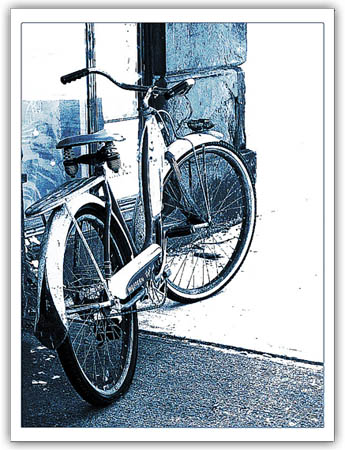
Here’s one done in blue ink:

Now that you’ve seen how to do it, the Photo Drawing slide style is free at The Frame Locker. 🙂
Want to learn something just a bit more advanced? Try Control Producer’s Adjustment Layers
More on this technique at Photodex’s Slideshow Blog

Thanks Barbara, that’s very neat.
Des
Des, make sure to dig into what that adjustment layer does. It’s probably the most underused part of Producer. It was the only way to make things so extreme.
COOL!
Yes indeed!