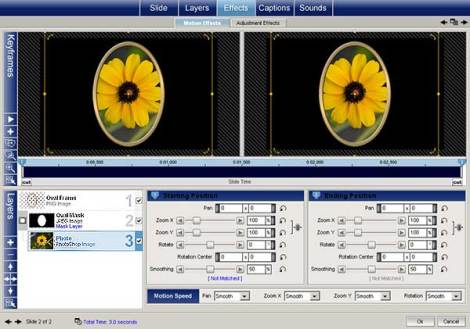
Some of the older Frame Locker products that include oval frames have no matching oval masks for easy fitting of photos. Here are the instructions I always give customers and that you might find handy for any oval frame, whether it comes from The Locker or anywhere else. The instructions are long, but the process takes no time at all. Do it just once, and you’ll never have to use these instructions again.
1. Add the frame to a blank slide.
2. In Effects > Motion Effects, press the plus sign and choose “Add Gradient.”
3. On the next screen and in Presets, choose Masks.
4. In Type, choose Radial.
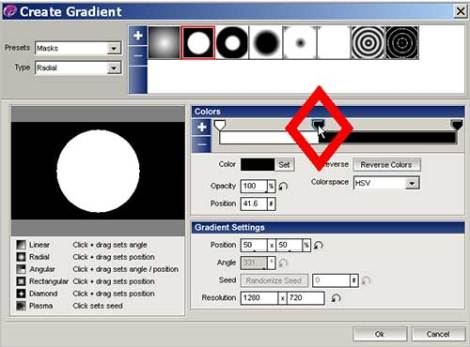
6. Move the center black marker to the left so it covers the white marker:
7. Click OK, and then move the newly created gradient down to Layer 2.
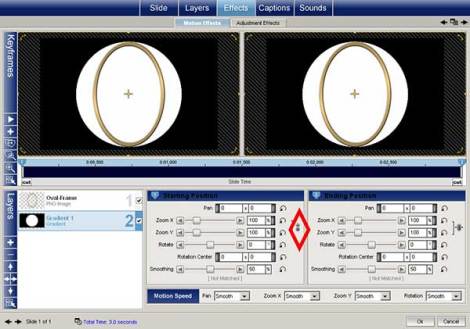
8. In the Zoom controls and on the left side of the screen, unlock the x-y axis:
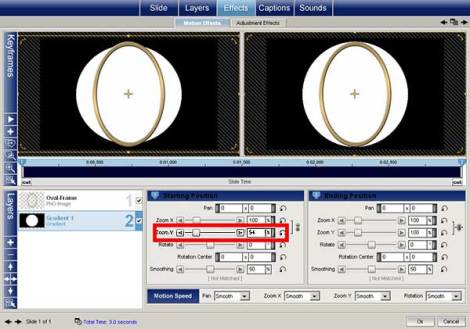
9. Reduce or increase the y-axis until the top and bottom of the white circle are just barely hidden beneath the frame:
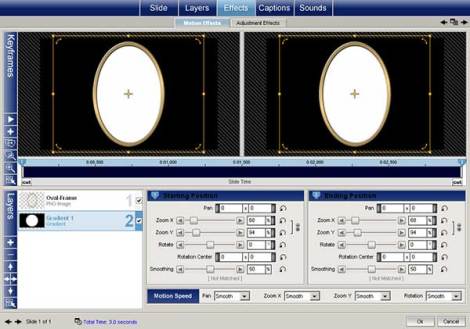
10. Reduce the x-axis until the sides are just barely hidden beneath the frame.
11. Press the Copy icon and choose “Copy Start to End” to get this result:
12. Delete the frame (Layer 1), and click OK to close the Options screen.
13. Right-click the preview screen, choose “Capture Frame(s),” and on the next screen, choose a name for your new mask. Save it to the same folder where you have your frame.
14. To test your new mask, set it up so that Layer 1 is the frame, Layer 2 is the grayscale mask, and Layer 3 is your photo:
Here’s my result:
NOTE: If you won’t be using the mask again anywhere else in the show, and you don’t expect to ever use the frame again, there’s no need to save the mask. Saving it simply gives you instant access to the mask for consistent results.
